Wed, Jan 22, 2025
Read in 5 minutes
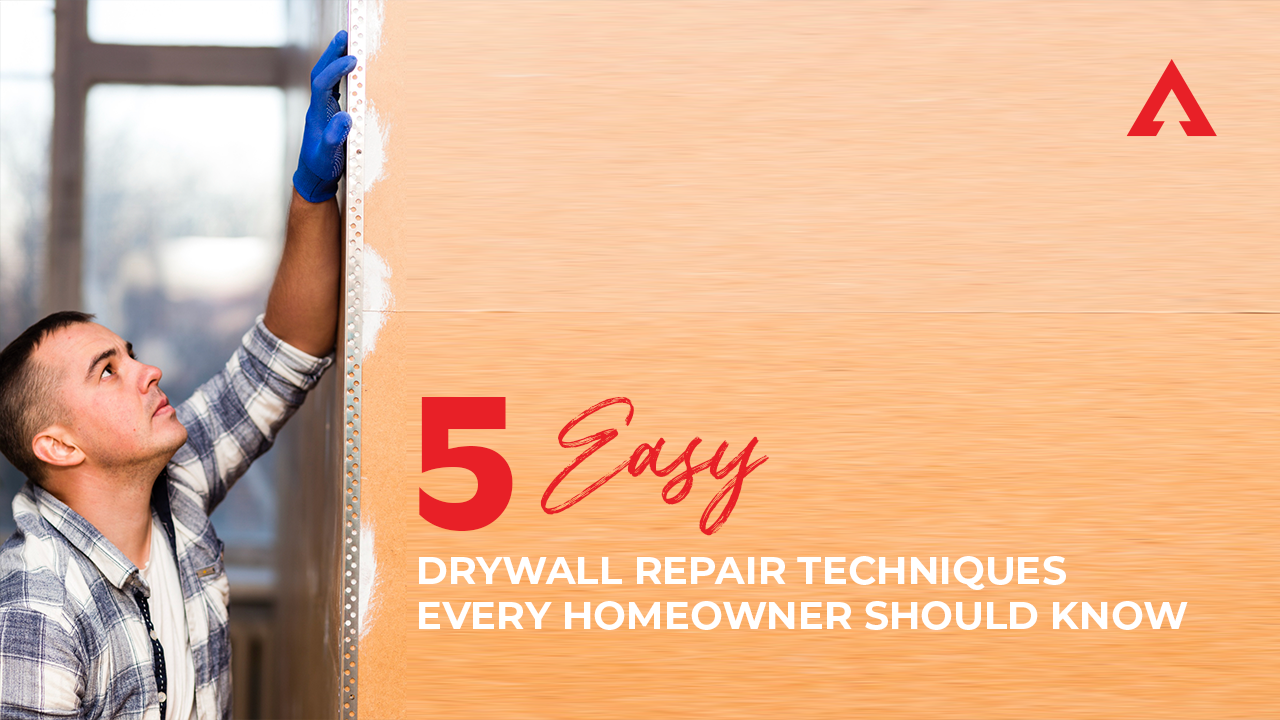
Learn 5 simple drywall repair techniques every homeowner can do. Fix holes, dents, and damaged drywall with tips from the experts at Atwal Construction.
Whether you’re living in a brand-new home or an older one, drywall damage is bound to happen. From nail holes left behind by picture frames to dents caused by furniture, walls go through a lot. And while some of these issues may seem minor, ignoring them can lead to more noticeable damage and even affect the value of your property.
That’s why every homeowner should know the basics of drywall repair. These simple techniques not only keep your home looking clean and well-kept, but they also save you the cost of hiring someone for every little fix.
Plus, if you’re preparing your home for sale or rent, fixing up the walls is a must. Clean, damage-free walls instantly make a better first impression—something every buyer or tenant looks for when viewing a property.
Before jumping into any repair in home, it’s important to be prepared. Having the right tools and materials makes the job quicker, smoother, and more professional-looking.
Here’s a list of what you’ll need for drywall repair:
These tools are easy to find at your local hardware store and are great to keep around for future home fixes.
Nail and screw holes are very common, especially in homes where wall decor changes often. These tiny holes may seem harmless, but when left untouched, they can make walls look old and poorly maintained.
Here’s how to fix them:
Paint tip: Always keep a small amount of your wall paint stored in labeled containers. This way, it’s easy to do quick touch-ups that blend perfectly.
Doorknobs, furniture, and kids playing indoors can cause little dents or dings in your drywall. These are slightly larger than nail holes and often appear as soft indents.
Step-by-step repair:
These quick repairs go a long way in maintaining a flawless wall surface, especially in high-traffic areas like hallways or living rooms.
For holes between 1 to 6 inches wide (often caused by accidents or doorknob strikes), a drywall patch is the best fix.
DIY method:
Paint tip: Use a small roller instead of a brush to blend the patch seamlessly into the surrounding wall.
If the damage is large or caused by water or mold, it’s best to cut out the affected drywall and replace it entirely.
Here’s how to do it:
This type of drywall repair is more time-consuming, but it provides a long-lasting fix and looks as good as new when done correctly.
No matter how well you apply compound or patches, a great finish is what makes your work invisible. Sanding and painting properly ensures your repairs blend perfectly with the original wall.
Steps to follow:
Paint tip: Match the sheen (flat, eggshell, satin) in addition to color. The wrong sheen can make even a well-done repair stand out.
While many drywall repairs can be handled with DIY techniques, sometimes it’s best to call in the pros. Hiring a trusted contractor ensures the repair is done safely, quickly, and with a professional finish—especially when the damage is more complex.
You should consider calling a professional if:
At Atwal.ca, we specialize in high-quality drywall services, including patching, texturing, and finishing. Whether you’re looking for a smooth repair or preparing your home for resale, we’re here to help. Our experienced team handles everything—from minor dents to full replacements—with precision and care.
Knowing how to do basic drywall repair is a valuable skill for any homeowner. These easy techniques can save you hundreds of dollars in service fees and keep your home looking its best. Whether you’re patching small nail holes, fixing dings, or replacing larger sections, you can handle most drywall issues with confidence.
And remember: the key to a great result is in the details—especially sanding, priming, and painting. Following the right paint tips ensures your repair is invisible and your wall looks freshly finished.
Need help with a major repair in home or want professional drywall finishing? Visit Atwal.ca for expert drywall services across residential and commercial projects. We take pride in clean lines, smooth surfaces, and customer satisfaction.

